In Australia, surface preparation for resin flooring pretty much begins and ends with grinding. Choose your discs to match the slab as best
you can, then get stuck into it. If the floor isn’t flat, that’s just bad luck and you’ll have to find the time to flatten it.
Because of this “one size fits all” approach, so many installers I’ve talked to over the years have felt real frustration. Frustrated with the cost and hassle of stocking different diamonds; frustrated with the heavy machines they struggle to lift in and out of their vehicles; frustrated spending days flattening a floor they hadn’t budgeted for.
Every time I heard another story about a “bad” slab, I couldn’t help but think there must be another way. Surely we could find something else to at least give us more options when it came to surface preparation?
Well, as it turns out, there IS such a prep tool…and, I’m going to share it with you now.
My name is Jack Josephsen, or “Resin Jack”, as I became known while sitting on the committee to update the flooring technology qualification
a few years back.
Getting a proper resin flooring stream added is just one of the problems I’ve solved since starting my own resin flooring business in 2001.
To this day, I believe all resin flooring businesses are held back, facing big hurdles, or just completely stuck, because of the confusion that comes from being in an industry that has had no association, qualification, best practices or mainstream presence.
My mission is to help solve problems for these businesses to give them more clarity, direction and confidence. By doing so, I can help build a stronger resin flooring industry that is capable of reaching its full potential and becoming a mainstream flooring option alongside timber, carpet, tiles and vinyl.
With the introductions out of the way, let’s get back to the problem I was trying to solve here - the frustration resin flooring installers were feeling with surface preparation.
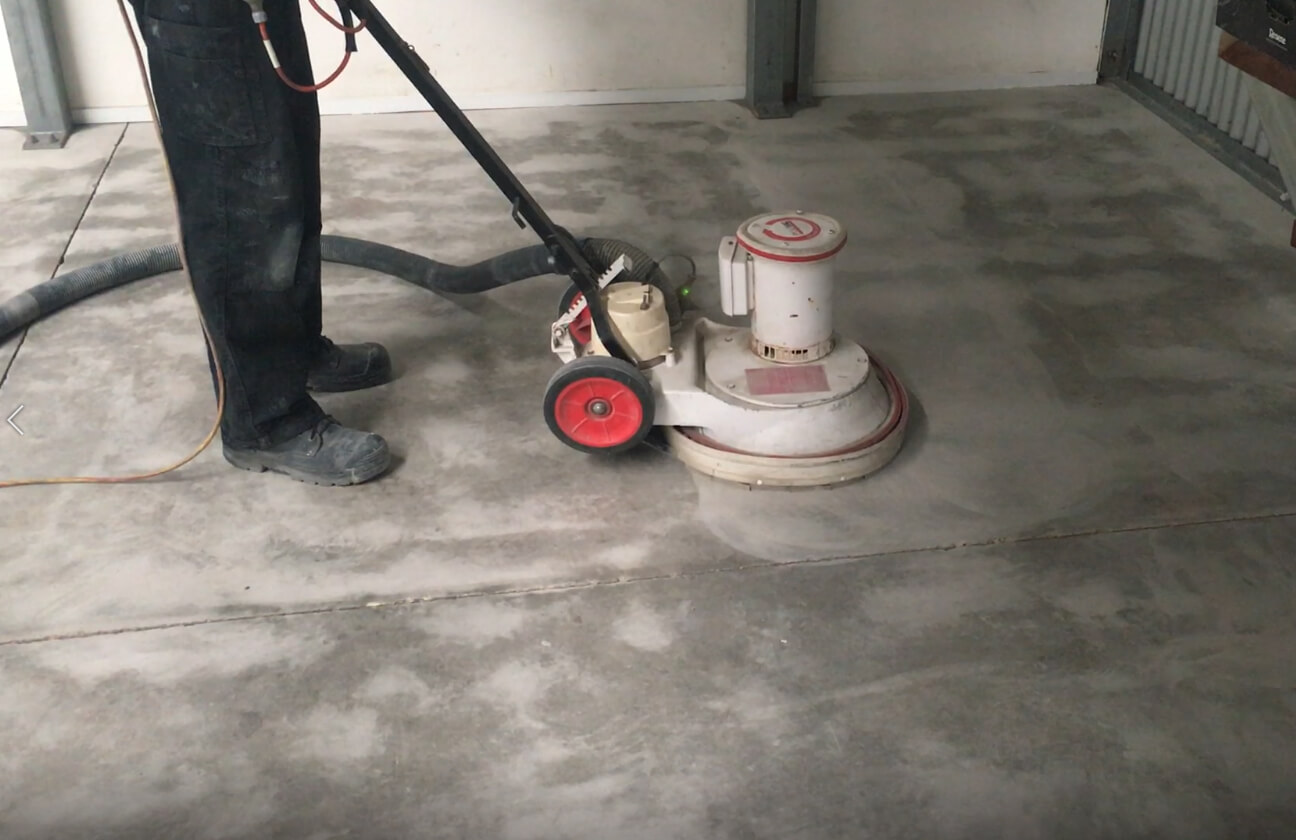
I’ve been involved with thousands of projects over the years and seen 100s of different grinders used. However, they all have the same basic
limitation as far as resin flooring is concerned: they are rigid machines that are designed to flatten a floor.
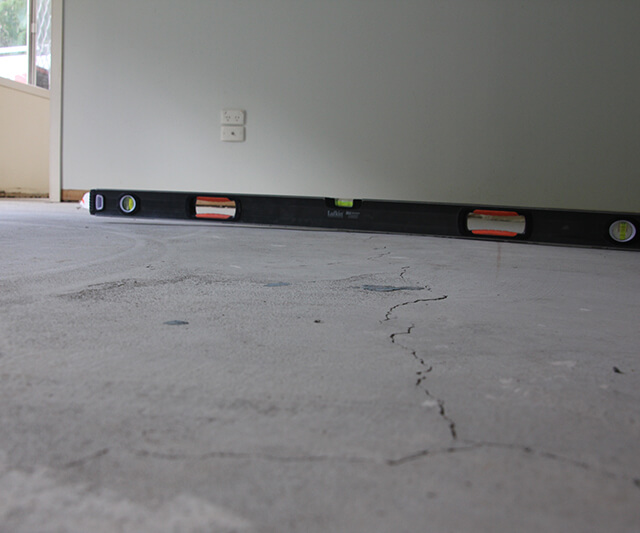
This is a problem for resin flooring installers because we don’t need a perfectly flat, honed floor to do what we do. In fact, it can be a big headache because we’re forced to grind down the “hills” until they’re level with the “valleys” and waste huge amounts of time and money in the process.
“Get a bigger machine!” is the common advice. “One that can rip a few millimetres off in one go”. Well, from a resin flooring perspective, this isn’t ideal either. We actually don’t want to rip off millimetres and expose aggregate because the minute we do, we make it harder for our coatings to stick and risk opening up pockets of air that can lead to pinholes.
There a few more hassles to consider with heavier machines as well, such as 3-phase power. If the site doesn’t have it, things can get
pretty complicated. You now need to get a generator to the job site, which in itself can be a pain. You also have to contend with noise and
exhaust issues. Even if the power is sorted, you still have to deal with potential problems like voltage drop, which can lead to reduced
performance and perhaps even mechanical failure.
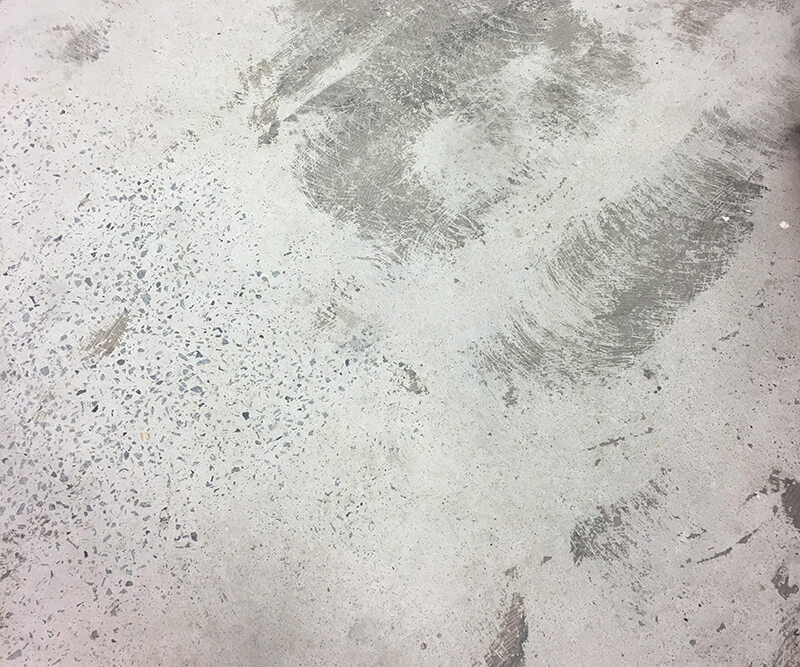
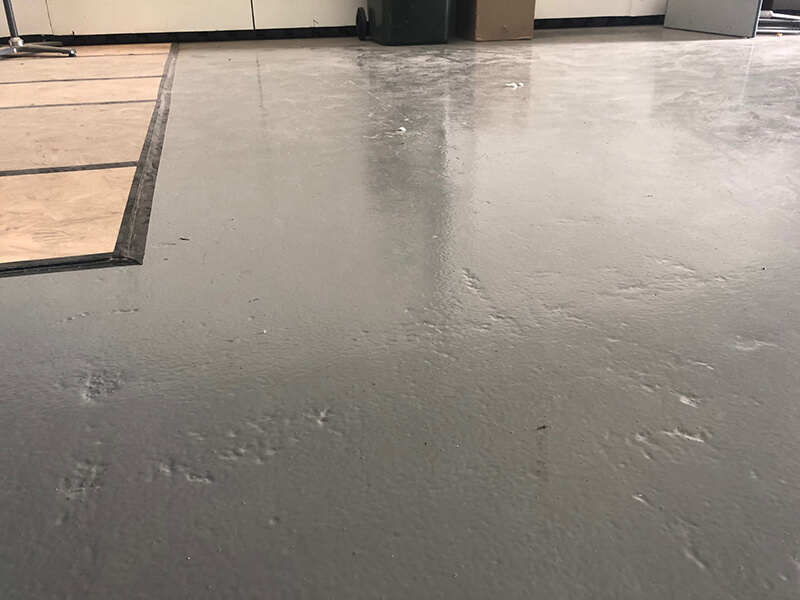
Grinding slabs that aren't flat to begin with (left) can result in exposed aggregate and/or patchiness (middle), as
well as visible lips underneath the resin floor (right).
Then there’s shotblasting. I admit I’m a big fan of the clean, dust-free operation, and the fact it can follow contours of a slab rather
than flattening it. In theory they’re faster too.
The problem with shotblasting, however, is that no one really uses it in Australia. There are two major reasons for this in my opinion:
1) High capital outlay – by far the biggest barrier to widespread usage is the cost of the machine itself. Shotblasters typically have a starting price somewhere around $25K, compared to about $10K for a good grinder. It’s no wonder they’re not on the shopping list of the average small business.
2) Operator skill – the hefty price tag is made even worse by the fact that very little is known about shotblasting in Australia and most
installers have never used one. This means not only are they faced with investing a large sum of money for the equipment, but there’ll be
more costs to come in the form of training and skill development.
Even if those bases are covered, it takes a bit of nous to operate a machine effectively, and, getting the shot selection and/or speed wrong
can get you into trouble.
My search for more surface preparation options started about five years ago when an industry colleague, Lindy Ausburne from High Definition Concrete Consulting in the US, told me about a different form of prep tool that was gaining popularity with contractors in her country. The tool wasn’t meant to replace grinding or shotblasting completely, but she made the point there were plenty of times it provided a much better option for certain floors.
As she put it: “It’s the tool every contractor should carry in their van”.
The tool she was talking about was called Diamabrush, and, I eventually got my hands on one after seeing it in action at the World of Concrete in 2017.
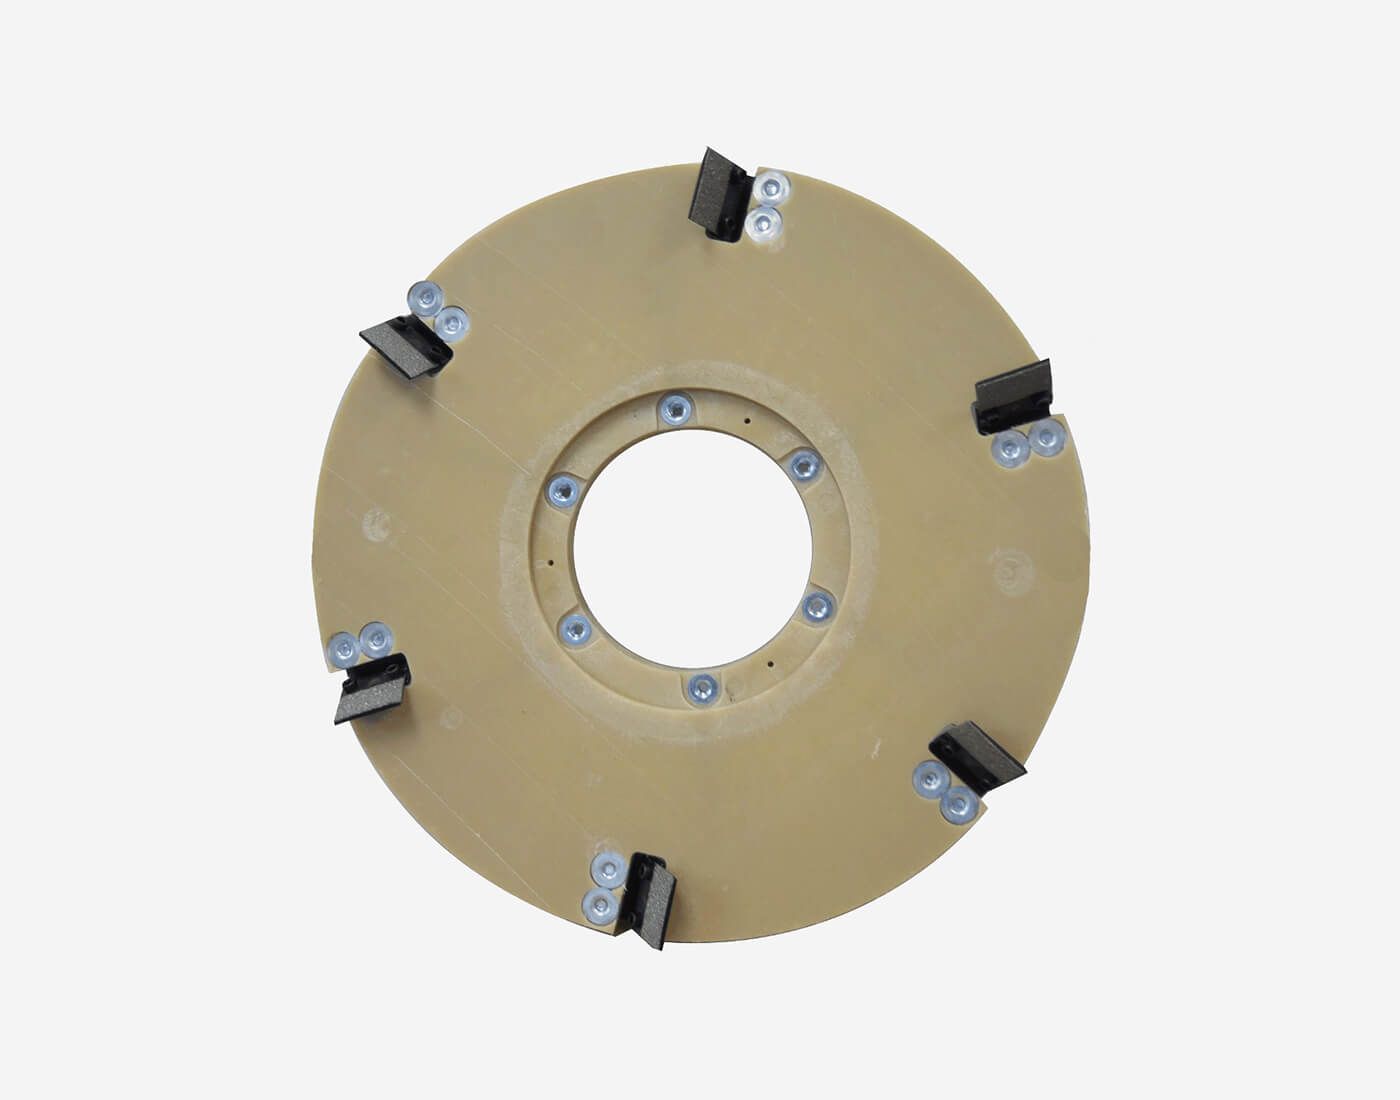
It easily fits to a SV25 Polivac machine (or similar) without the need to add any weight.
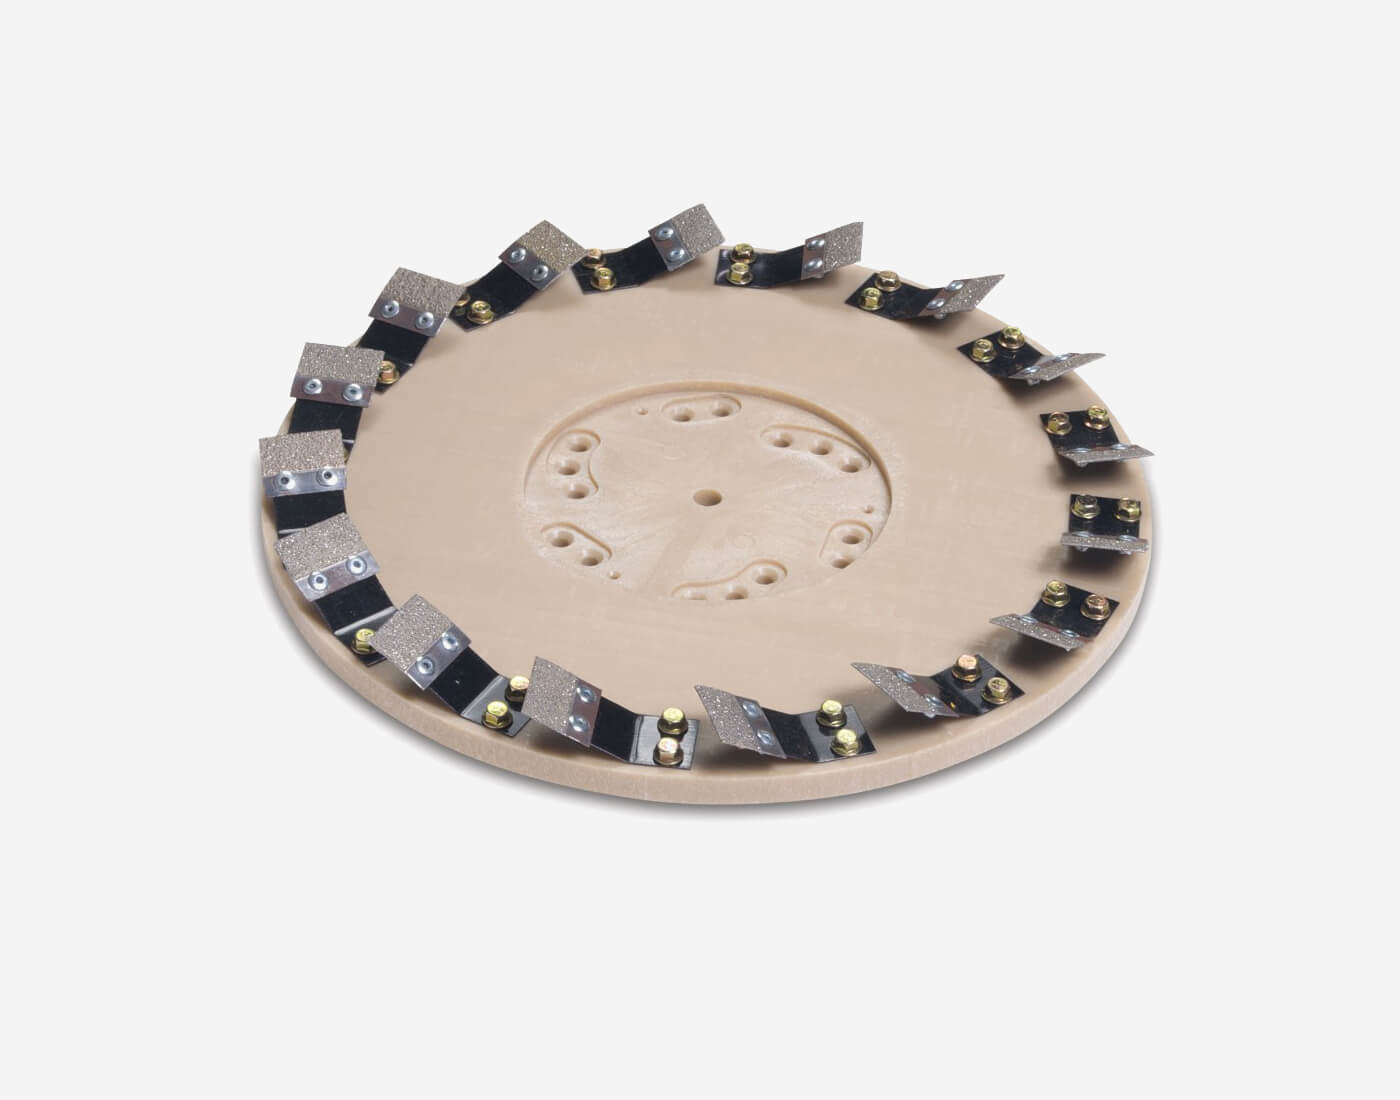
There are several different types of tool available, however two have specific relevance to resin flooring (as you’ll find out below).
The blades on the tool are flexible and the coupling has a bit of “give”, so it follows contours rather than bulldoze through tops.
It certainly ticked many boxes on paper and looked great during the demos, but I’d never know if it was the real deal unless I rolled up
the sleeves and tried it out for myself.
So, that’s what I did!
The perfect opportunity to put the Diamabrush tools through their paces eventually appeared in the form of a 150m2 industrial
shed that required a thin-film rollcoat system. It was so perfect in fact, I decided to take the testing a whole lot further. Rather than
just run the Diamabrush tools by themselves, I decided to a full, side-by-side analysis of the different prep tools to see how they compared
on the same slab.
I called it the 4 Tool Prep Challenge, and, you can watch all the action in the two videos below:
I also captured my thoughts on how each tool performed in these two videos:
With the challenge complete and the fun stuff out of the way, I was now faced with reality of finishing 150m2 of surface
preparation.
I wanted to keep going with the Diamabrush Concrete Prep Tool (CPT). The only thing that stopped me was time. I had only played with these tools once over 10m2 and I wasn’t sure how long a much larger area would take.
Although most of the shotblasted section in the prep challenge was very good, some areas had been “blown out” and were too rough for a thin-film rollcoat system. How much variation would I see across the 150m2 total area? Would I need to spend more money and time putting down a scratch coat afterwards?
In the end, I did what most installers do and went for the “safer” grinding option. During the prep challenge it was a bit patchy, however I was hoping it was just that section and the rest of the slab would prove to be flatter. Unfortunately, this was not the case and the familiar frustrations quickly surfaced. Two days and three passes later, I still had a patchy floor. The hills were prepped, but the valleys were hardly touched.
Buying another set of diamonds with fewer segments and the same soft bond would probably start ripping those high points off, but then I
would be exposing aggregate and needing a primer to manage the risk of pinholes. It just felt like more money, more labour and more
frustration.
Grinding with a different set up was the obvious way forward, but it didn’t feel like the BEST way forward.
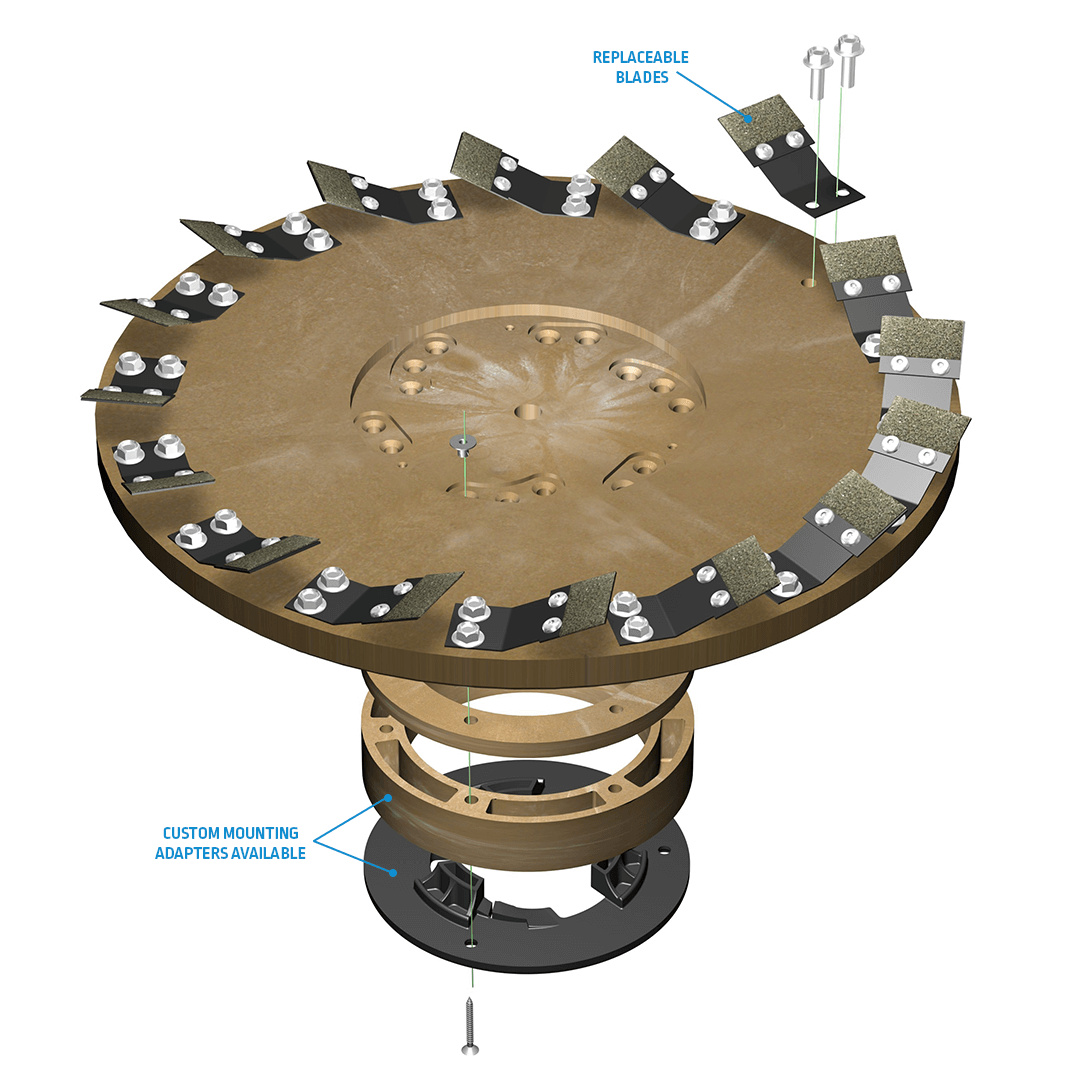
Then I recalled there was another Diamabrush tool I’d left out of the prep challenge and hadn’t tried yet because it was promoted as a
Coating Removal Tool (CRT). This particular tool only had 6 blades instead of the 16 on the Concrete Prep Tool (CPT) and I couldn’t help but
think, “If having fewer segments improves the speed and efficiency of a grinder, would it work for a Diamabrush tool as well?”
It was certainly worth a shot, so I decided to try it on another small area. Below is a recording of what happened:
As you can see, the theory of fewer blades definitely applied to the Coating Removal Tool (CRT) as well. Not only did it remove the top layer of concrete much quicker, the padded coupling between the tool and sanding machine seemed to provide just enough flexibility to reach the low spots.
I was so impressed with the profile that I decided to go over the entire 150m2 again, and, amazingly, knocked it over in a couple of hours!
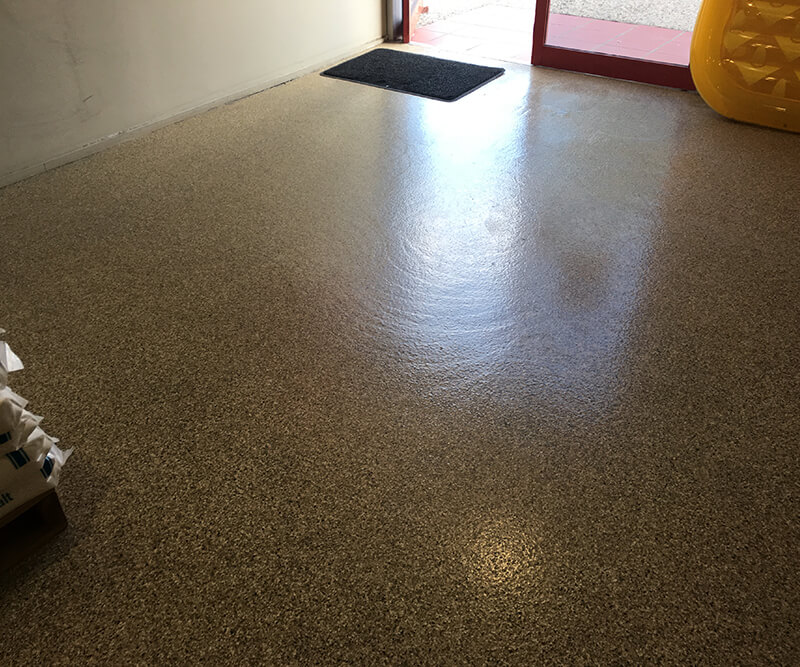
With the faster and more consistent finish across the undulating slab, I couldn’t resist playing some more and decided to tackle the office as well. The old coloured quartz floor was still very sound and well bonded, so my plan was to just “clean it up” before applying a fresh flake floor over the top.
I once again used the opportunity to do some comparisons and filmed the Diamabrush Coating Removal Tool (CRT) side-by-side with the same grinder I used in the original prep challenge.
Here’s how it went:
Again the valleys showed up on the side with the diamond grinder, and again they DIDN’T on the side with the Coating Removal Tool (CRT).
In fact, it became obvious at one point there – as you could see in the video – the Coating Removal Tool (CRT) was having no trouble at all cutting through the quartz and actually stripped the floor back to bare concrete by accident.
At this point, another piece of the problem solving puzzle fell into place.
It became clear that the Coating Removal Tool (CRT) was very good at doing its job of removing coatings and was also excellent at preparing concrete, however it was too aggressive to use in between coats.
For this task, I went back to the Concrete Prep Tool (CPT) and wondered whether the extra blades that slowed it down too much on concrete might actually work in its favour here. The only change I had to make was switching the blades from 25-grit (concrete prep) to 100-grit (resin film prep) to reduce the depth of the scratch.
Luckily, I had a third, previously coated section to do on the mezzanine of the same industrial shed, and I put my theory to the test.
The video below proved I was right and that Diamabrush could be used to prep between coats as well:
Get Diamabrush in your van today! You won't be disappointed.
This journey all started with a desire to solve a real problem, which was the fact that there weren’t enough options for resin flooring installers in Australia. After 5 years of research and a thorough round of testing – which also included loaning out the tools to real installers on real jobs – I was able to find a solution.
The solution is Diamabrush.
A convenient, easy-to-use tool that could slip onto a regular sanding machine and prep the contours of the slab is exactly what our industry was crying out for.
But...I knew that I hadn’t actually helped anybody at that point because it was an American tool that was very hard to get in Australia. I still had to find a way to make them readily available in this country so all installers could benefit.
Having already built a close working relationship with the US manufacturers throughout the tests and trials, I was able to help them set up in Australia and bring Diamabrush to our shores.
And, here it is!
To begin with, you can now get your hands on two of the surface preparation tools shown in the videos on this page:
Tool 1 - Diamabrush Concrete Prep Tool (CPT)
For preparing soft concrete (with 25-grit blades) and in between coats (with 100-grit blades).
Tool 2 - Diamabrush Coating Removal Tool (CRT)
For faster prep on undulating concrete.
Which tool should you start with?
Well, if you just want to give one tool a try first, I suggest you start with the Concrete Prep Tool (CPT) as it will do the job of both, only slower.
If you’re serious about finding another option for concrete prep, then grab the Coating Removal Tool (CRT) and use sandpaper on your sanding machine for between coats (until you get tired of swapping out the paper and decide to give the Concrete Prep Tool a go).
Note: All Diamabrush tools come with the 3-clover quick release clutch plates. If you have a swing sander that requires a different clutch plate then please advise us at the time of ordering.
I know you want to talk about it, so let’s see how the costs stack up.
By fitting to a sanding machine that most installers already have, or can pick up cheaply, there is very little initial outlay for Diamabrush. The tools themselves are also very affordable as a one-off purchase that won’t need replacing.
A big chunk of the expense, just like any prep tool, is therefore going to come from consumables. For grinders we’re talking about discs; for Diamabrush we’re talking about blades.
How long do the Diamabrush blades last?
From the manufacturer’s wear data, you can expect to get 1400-2300m2 per set of blades for the Concrete Prep Tool (CPT). This works out to be around $0.25-0.40 per m2.
For the Coating Removal Tool (CRT) it’s 230-465m2 per set of blades, or $0.75-1.50 per m2.
Still not sure? Work out what you currently spend in diamonds, sandpaper and screens and see how it compares.
You won’t be disappointed.
It truly is the surface preparation tool every installer should have in their van.

Read more about Resin Jack and his mission to make resin flooring mainstream on